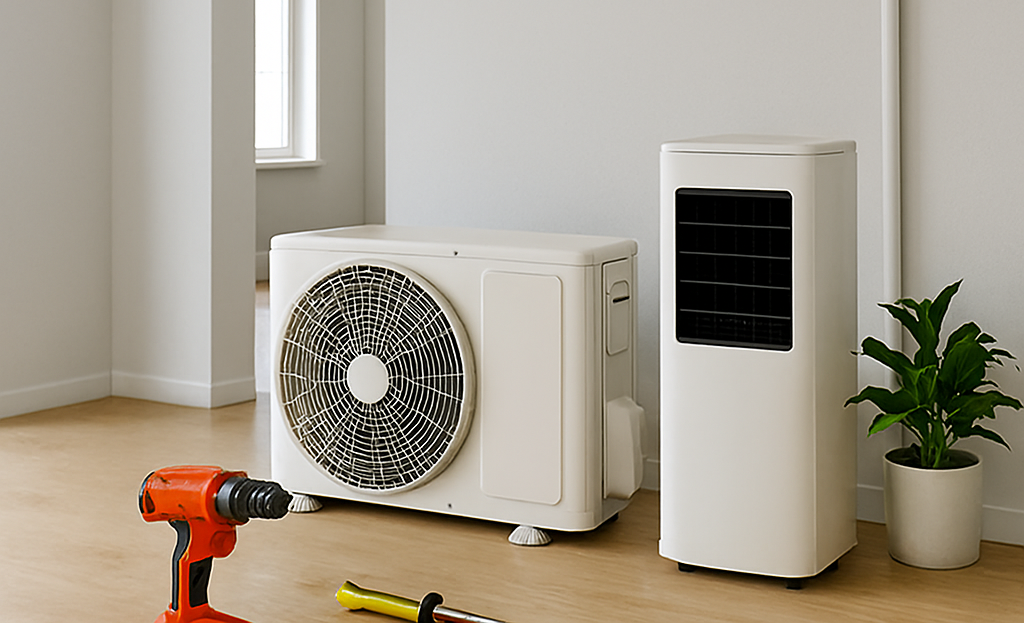
Complete Guide: How to Install a Split Air Conditioner at Home

Why Proper Installation Matters
Installing a split AC isn’t just about staying cool — it’s about protecting your investment. A poor installation can lead to:
- High electricity bills
- Weak cooling performance
- Water leakage
- Compressor damage
Whether you’re in Abuja, Lagos, or anywhere in Nigeria, this guide will walk you through the process with clarity and confidence.
Step 1: Choose the Right Location
Indoor Unit (Evaporator)
- Mount 7–8 feet above the floor for best airflow
- Leave 6–12 inches clearance around the unit
- Avoid direct sunlight or heat sources
- Use a strong wall that can support the unit’s weight
Outdoor Unit (Condenser)
- Place in a shaded, well-ventilated area
- Use a flat surface or wall brackets
- Maintain 12–24 inches clearance for airflow
- Keep away from dusty or high-traffic zones
Step 2: Gather Tools and Materials
You’ll need:
- Drill & bits
- Screwdrivers
- Measuring tape & level
- Adjustable wrench & spanners
- Pipe cutter & flaring tool
- Hammer & chisel
- Electrical tester
- Insulation tape & mounting screws
- Vacuum pump & manifold gauge
⚠️ Pro Tip: Most AC brands include copper pipes, drain hose, and brackets — but always confirm before starting.
Step 3: Install the Indoor Unit
Fix the Mounting Plate
- Level the bracket and mark drill points
- Drill holes and insert anchors
- Secure the plate tightly
Drill a Hole for Piping
- Drill a 3-inch hole at a downward angle
- This allows copper pipes, drain hose, and cables to pass through
Mount the Indoor Unit
- Feed pipes and cables through the hole
- Hang the unit on the bracket
- Ensure it’s perfectly level to prevent water leakage
Step 4: Install the Outdoor Unit
- Place on a vibration-free surface or wall brackets
- Use rubber pads to reduce noise
- Secure with bolts and check for level alignment
Step 5: Connect Piping and Wiring
Copper Pipes
- Connect liquid and gas lines between units
- Use a pipe bender to avoid kinks
- Flare pipe ends before tightening
Insulate the Pipes
- Wrap both pipes with insulation tape
Drain Pipe
- Connect to indoor unit
- Ensure continuous downward slope
Electrical Wiring
- Match wire colors using the diagram
- Connect power supply to outdoor unit
- Double-check connections to avoid compressor damage
Step 6: Vacuum the System
- Connect vacuum pump to service port
- Run for 15–20 minutes until –30 inHg vacuum is reached
- This removes air and moisture that can damage the system
⚠️ Never skip this step — moisture is the #1 cause of AC failure.
Step 7: Release Refrigerant
- Slowly open service valves on the outdoor unit
- Allow refrigerant to flow into the system
- Tighten all connections securely
Step 8: Test the System
Turn on the AC and check for:
- Cool airflow
- No strange noises or vibrations
- No refrigerant leaks (use soap solution)
- Proper water drainage
Safety Precautions
- Always work with at least two people
- Turn off main power before wiring
- Handle copper pipes gently
- Hire a technician for vacuuming if needed
Final Words
Installing a split AC is technical but doable. With the right tools and attention to detail, you’ll enjoy efficient cooling and long-term performance.
👉 Not confident with refrigerant or wiring? Call a certified technician — it’s cheaper than fixing a bad install.
Bonus Tip from Dispasal
“When you buy your AC from Dispasal, we offer professional installation support to protect your investment and ensure your unit runs perfectly from Day 1.”
📍 Visit us TODAY 🌐 Shop online at dispasal.com 📞 WhatsApp/Call: 09164425471


